Installing a wash-on sink: the basic steps for installing a do-it-yourself sink

Sinks for the kitchen differ in the material of manufacture, size, shape, design and installation method. Overhead models amid a variety of fashionable mortise products are considered obsolete. However, they have a number of advantages for self-assembly and are still used in summer cottages and in apartments for temporary residence.
In this article, we will consider how to install a surface-mounted sink with your own hands, what you need to prepare for this, and what installation methods are best used. To make it easier for you to understand the main stages of installation, we have selected visual photos and useful video recommendations for installation.
The content of the article:
Distinctive features of overhead models
If you do not take into account past washes that are mounted directly to the wall on special brackets and do not require pedestals or countertops as support, all products for washing kitchen utensils can be divided into 2 categories: overhead and mortise.
The main difference between the two types is the installation method. The former, selected exactly in size, are “put on” on the pedestal from above, and for mounting the latter in the countertop, a hole must be cut.
The distinctive features expressed in the design, material, and form follow from this.
Products that do not require additional processing of the base are preferable for self-installation, and they cost on average cheaper.
However, design features rarely allow the use of "linings" in modern kitchen sets with a single worktop and built-in appliances. Overhead models also quite often choose for installation in a bathroom room, but this plumbing has a more attractive design, workmanship and size than the kitchen.

But there are similarities between the two types of sinks. For example, the installation of the tap and siphon, as well as the connection to the water supply and sewage system, is carried out using the same technology.
Detailed installation instructions
We will analyze how you can independently install a surface-mounted sink from “A” to “Z” without resorting to the services of hired installers and furniture manufacturing companies.
The instruction is useful to everyone who is used to doing all the simple household chores with their own hands, and the sink itself will find a place in the country house or in the kitchen in the apartment as a temporary replacement.
Step # 1 - selecting materials and tools
To assemble more quickly, the cabinet can be purchased ready-made, but only if it is suitable for washing in size.
The second solution is to order at a furniture company, but this option is only advisable at a low cost of the order.

To put together a curbstone and fix a sink on it, the following materials will be required:
- thin boards, plywood sheets of chipboard or MDF;
- steel sink;
- kitchen faucet with eyeliners;
- attachments for washing (self-tapping screws, corners);
- sealant or mounting foam;
- hinges and door handle;
- siphon with sewage fittings;
- antiseptic impregnation;
- legs or rollers.
To fix the sink to the cabinet, you only need a screwdriver or screwdriver to tighten the screws, but to cut the walls, base and door you will need a hacksaw, circular saw or jigsaw.

To clean the ends, sandpaper is useful, and for drilling holes for self-tapping screws - a drill with a thin drill. We do not recommend using nails: it is more difficult to hammer them into wood-particle panels, and the structure fastened with nails becomes non-separable.
It is better to purchase all materials in advance so that during the assembly process you do not waste time searching for the necessary parts. The listed tools are usually found in home workshops by amateur craftsmen, especially if they are in charge of a summer house.
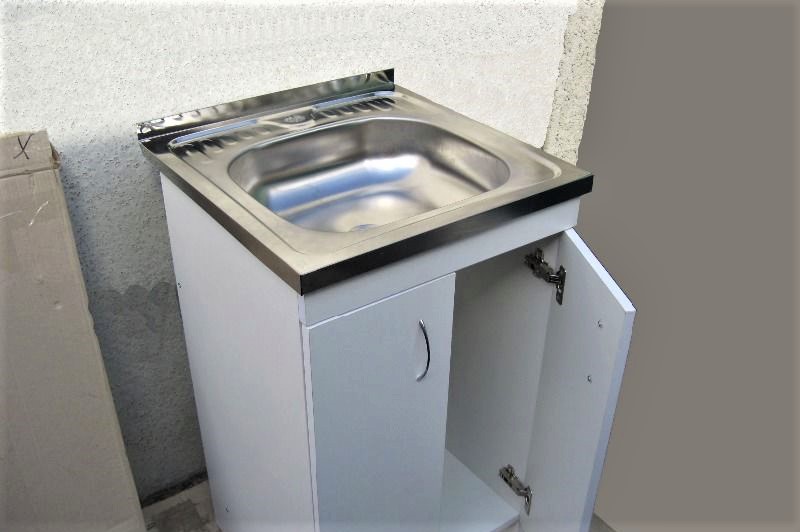
Step # 2 - making a kitchen cabinet
The sink cabinet has a design that differs from ordinary kitchen cabinets. It does not have two elements: the back wall - for a free connection to communications, as well as countertops, since it is completely replaced by a sink-overlay.

Sheets of chipboard, thick plywood or moisture-proof drywall - sometimes it’s easier to take some of the materials remaining after the repair - we take in such a volume that there is enough material for two full walls, the bottom and parts for the connecting “belt”.
Procedure:
- first, we cut large elements - two identical side walls and a base, then - horizontal connecting parts;
- we carefully cut and if necessary we clean and process the edges;
- if we use planed boards or plywood, before assembly we cover all elements with antiseptic impregnation, varnish or paint;
- we connect the elements according to the drawing with the help of screws and metal corners;
- on the bottom side of the base we fix the legs or rollers.
If possible, adjust the legs. If desired, the space under the cabinet can be closed with a bar. Lastly, we hang the door. This is best done after installing the sink.

Drawbars (transverse stiffness bars) are recommended to be placed directly under the sink and at the very bottom. You can make additional crossbars in the middle, if the design is voluminous.
Having assembled the structure, we check it for strength. We install in the chosen place - it is desirable that it be as close to communications as possible.
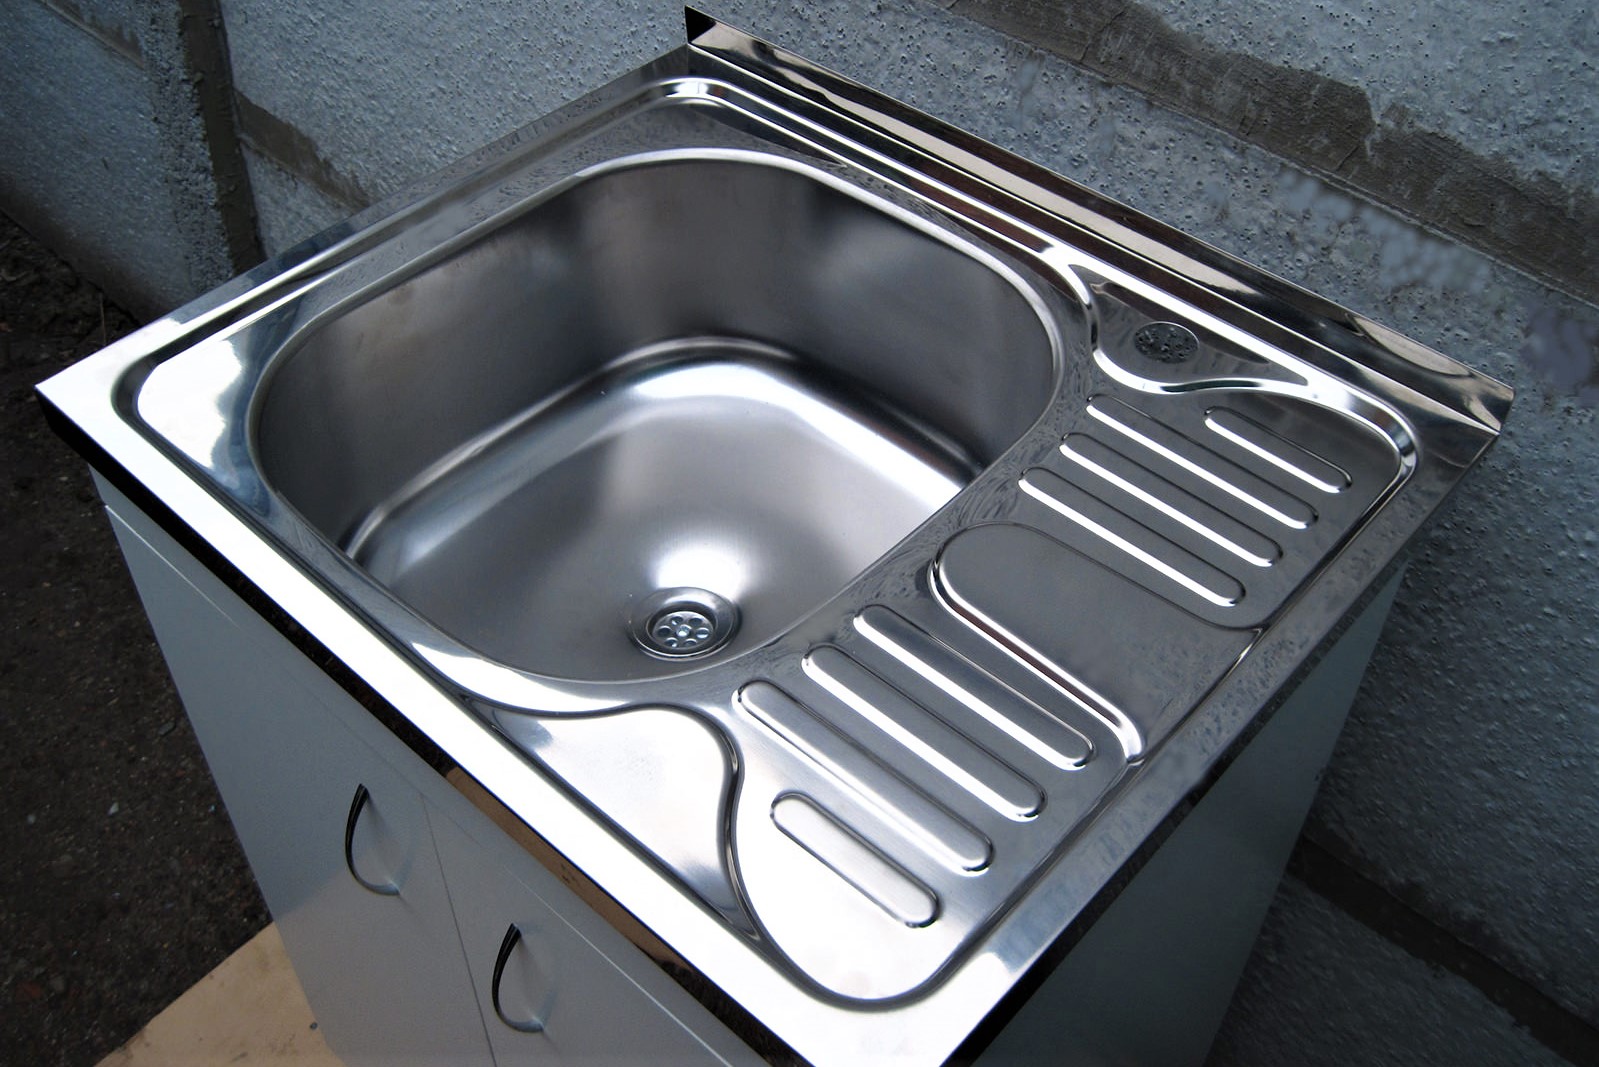
Step # 3 - choosing the right sink
Metal overhead sinks are sold in plumbing stores, and can also be found in departments for cottages. They are similar to each other, but may differ in design and size.
In addition to single sinks, which are a traditional rectangular or square product with rounded bowl corners, models with shelves-driers are presented, on which it is convenient to fold washed dishes, vegetables or fruits.
When choosing a size, you need to consider the dimensions of the cabinet, if it is already ready. In the opposite case, the sink is selected according to needs: single or double, with or without a dryer.


The metal from which the sink is made can be shiny (traditionally “steel”) or matte. By technical characteristics, both options are the same.
Next, we consider how best to fix the surface sink to the kitchen cabinet.
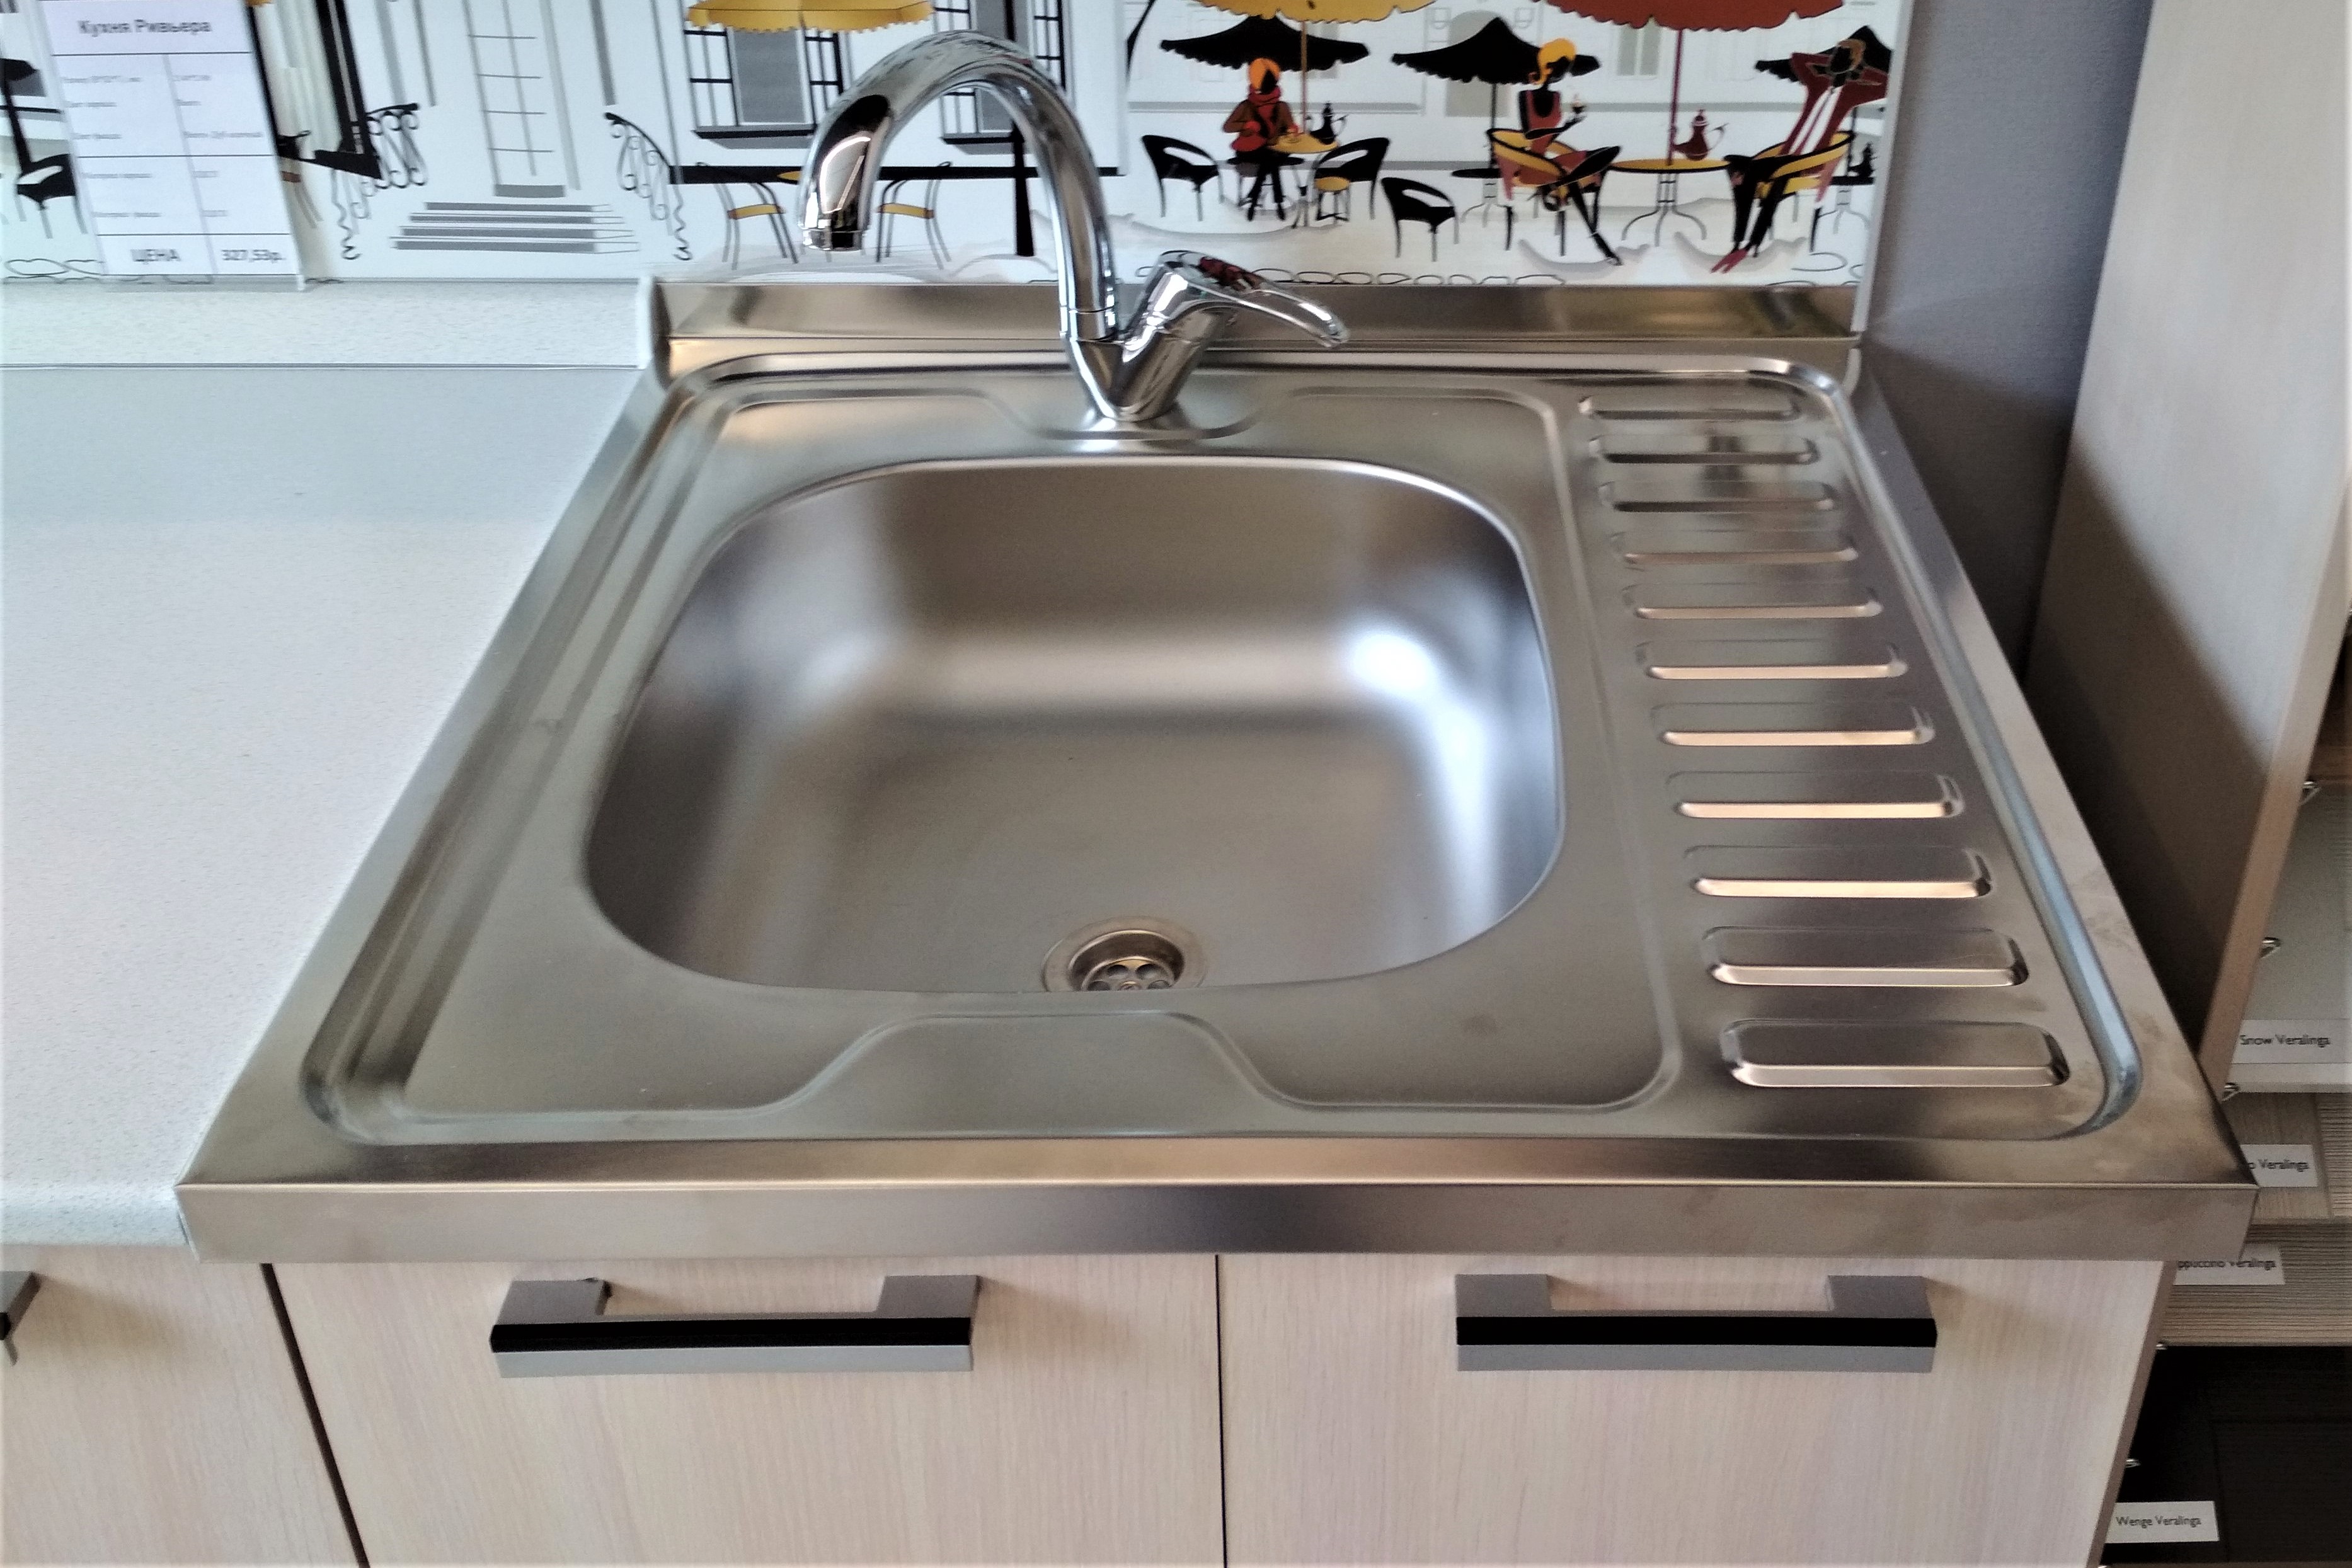
Step # 4 - installation of the tap and siphon
When the pedestal is assembled and adjusted, it can be said that the most difficult part of the work is behind. It remains to fix the sink, after having fixed the mixer and siphon on it.
First you can put mixerusing the fasteners and gaskets provided.

If only cold water supply operates in the country, then instead of the mixer, a simpler device is installed - a single tap for cold water.
Next is to put a siphon. It is necessary so that odors from the sewer pipe do not spread through the living quarters.
It is also desirable to attach it to the sink bottom before installation, but it is possible afterwards - under the sink there is enough space for manipulating plastic fittings.
Thanks to the prefabricated structure, plastic siphons are installed quickly - according to the scheme proposed by the manufacturer.

Step # 5 - Installing the sink on the cabinet
Often, plastic “corners” are used to install metal sinks - L-shaped overlays that are fixed to the upper ends of the side walls.

If the sink and cabinet are ideally sized, lining, screws or other fasteners can not be used.
Before installation, sealant is applied to the edges of the cabinet, after which the edges of the sink are firmly pressed against the walls and partitions.

When using any adhesive means, it should be remembered that an inseparable connection is created, although with a certain effort it will still be possible to tear the sink from the curbstone.
When planning the installation of the door, it must be ensured that it opens freely, without touching the front edge of the sink, which will be lowered by a few centimeters.
The installation process of the sink is simple and takes a minimum of time if it corresponds to the cabinet in size.
Step # 6 - connecting to communications
Without connecting to the water supply and sewerage, the sink is unsuitable for use, so the final stage is the connection of plumbing fixtures.
First, we connect to the water supply network. The mixer has already been installed - it remains to connect two flexible eyeliners. They lead from it to the tees cut into the water pipes.

Then it remains to connect to the drainage system by connecting the outlet pipe - a pipe connected to the outlet of the siphon - with a sewer pipe.
Most often, corrugation is used as an assembly, but it retains particles of debris and sags over time.

After installing and connecting the mixer and siphon, turn on both taps and check the functionality of all devices.
Upon successful completion of work, a door is hung at the very end - this completes the installation of the sink.
Conclusions and useful video on the topic
Video installation instructions for the kitchen sink:
Laid on sink - not the best solution for the improvement of the kitchen. But when a suitable stand is idle in the country and you need to quickly create comfortable living conditions, it is considered one of the most successful options. It is also attractive that installation work does not require special skills, time and effort - everything can be done with your own hands.
Do you want to complete the above step-by-step instructions with useful tips or point out nuances that we did not mention? Please write your comments and recommendations under this article.
Or maybe you want to share your personal experience installing a sink in the country? Tell us how complicated this work was for you and how much time it took you to assemble the structure.
 Siphon for washing: design, purpose, do-it-yourself installation features
  Installing a siphon in the kitchen: how to assemble and install a device + circuits and installation example
 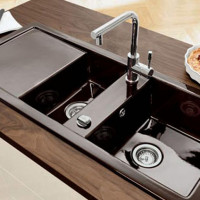 How to install a sink in the kitchen: installation rules for mortise and freestanding models
 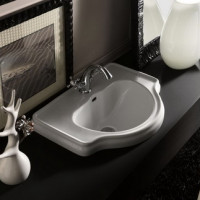 Countertop built-in sink: installation diagrams and analysis of installation features
  How to install a tulip shell on your own: phased instruction
 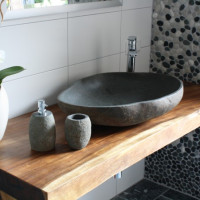 Stone sink: advantages and disadvantages of natural stone, comparison with alternative options, installation nuances
  How much does it cost to connect gas to a private house: the price of organizing gas supply
  The best washing machines with dryer: model rating and customer tips
  What is the color temperature of light and the nuances of choosing the temperature of the lamps to suit your needs
  Replacement of a geyser in an apartment: replacement paperwork + basic norms and requirements
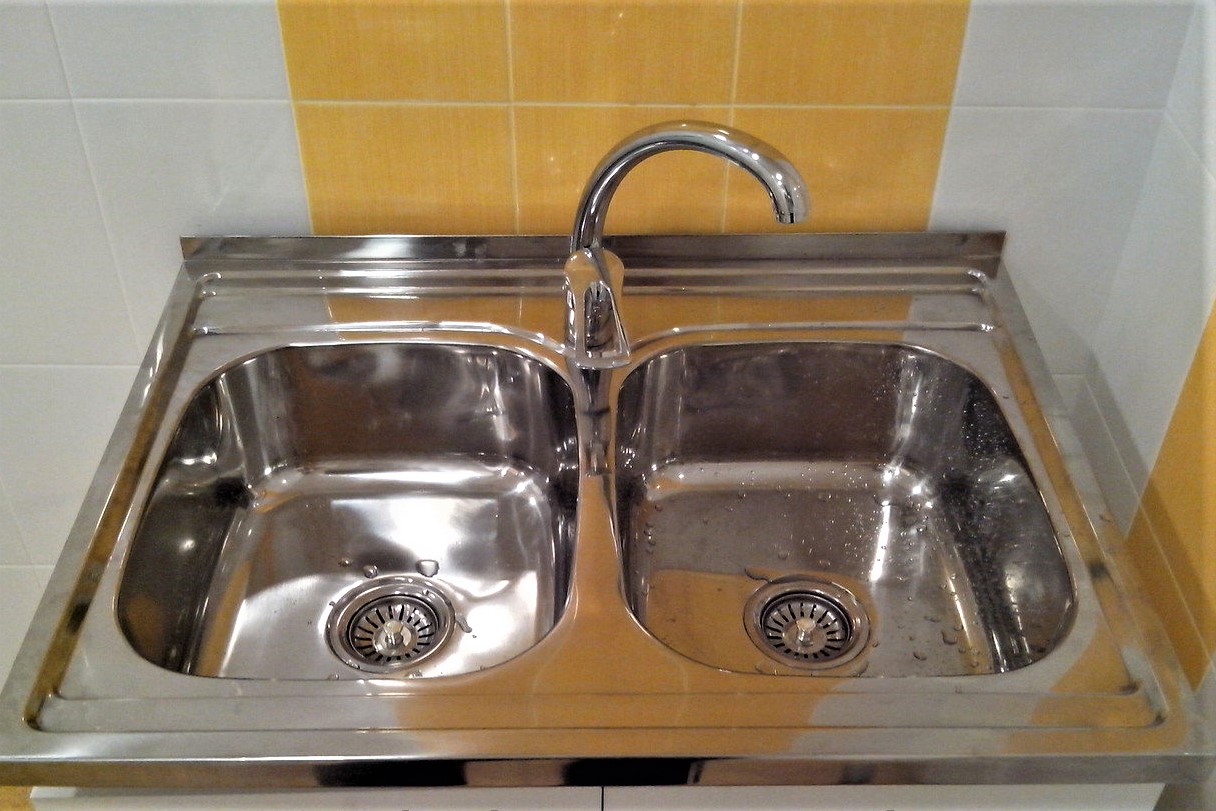
At our dacha there is an overhead sink, not just a separate cabinet, but a cabinet as part of the kitchen “wall”. To this day, I see such options for sinks in furniture stores. Naturally, these are the cheapest kitchen sets, but they are quite interesting for buyers. In life, there are a lot of situations when people need just this, and not a cool design option.I think cabinets with sinks will still be in demand for a long time.
I like the option of washing with two bowls and a “beach”. It is convenient that you can wash dishes at the same time and, for example, thaw the fish. Or wash dishes in one bowl, rinse in another. Stops that this option takes up a lot of space.
Laid on sink may not be in fashion, but this is the most common, simple and reliable option. I am sure that most Russians in the kitchens are just like that. It is easy to install it for any man, because in the curbstone there is a cutout exactly for the typical sizes of such sinks. It remains only to fix and connect the siphon and flexible wiring. In my experience, with such sinks the least of all problems, leaks and breakdowns.
“Often plastic“ corners ”are used to install metal sinks - L-shaped overlays that are fixed to the upper ends of the side walls.” - And that’s it ?! There is no detailed description of mounting the sink with this kind of pads.