Installing a sink in the bathroom: installation instructions for modern models

The arrangement of the bathroom is a responsible event that raises a lot of questions among the owners who perform the installation of equipment on their own. A wide selection of sinks provides consumers with the opportunity to select equipment for any interior.
We will talk about how to install a sink in the bathroom in accordance with building codes and sanitary requirements. In the article we presented, examples of mounting the built-in and console versions are considered. Based on our recommendations, you can cope with the work yourself.
The content of the article:
The main types of sinks
The installation method of plumbing equipment is determined by the type of sink. Leading manufacturers produce several types of sinks.
The most common are four types of sinks that differ in installation method:
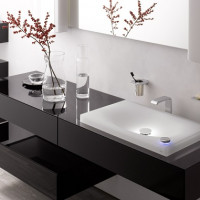
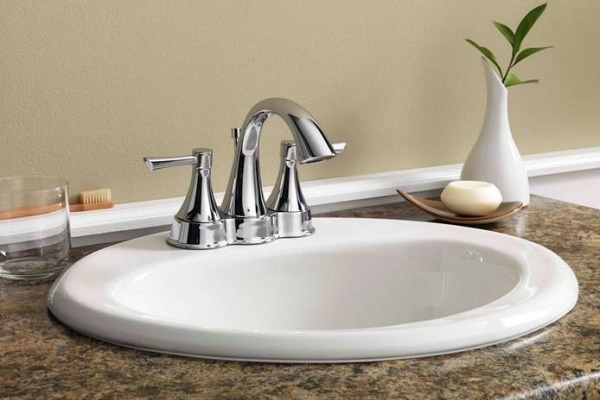
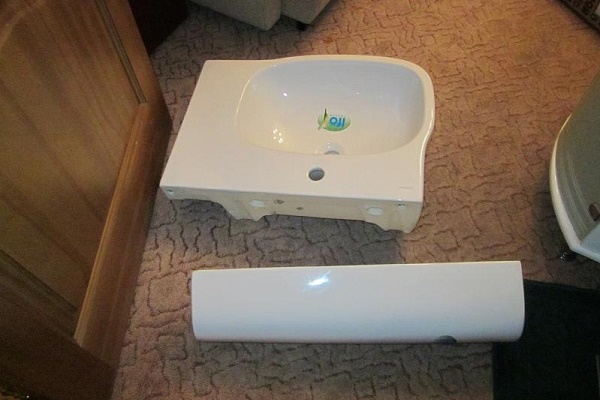
- Embedded. They are installed in the countertop of the cabinet, table or any other flat surface. Such models are convenient in that they allow you to completely hide unattractive communications behind the doors of furniture.
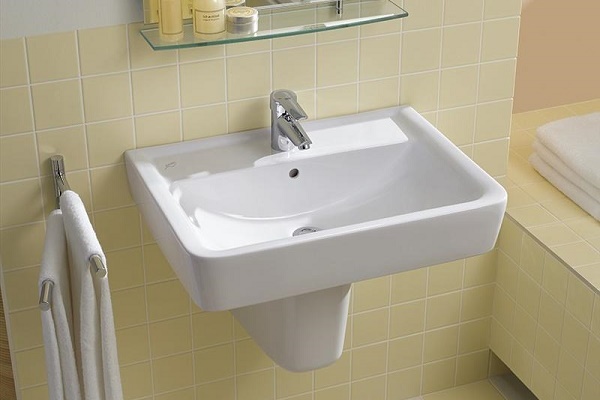
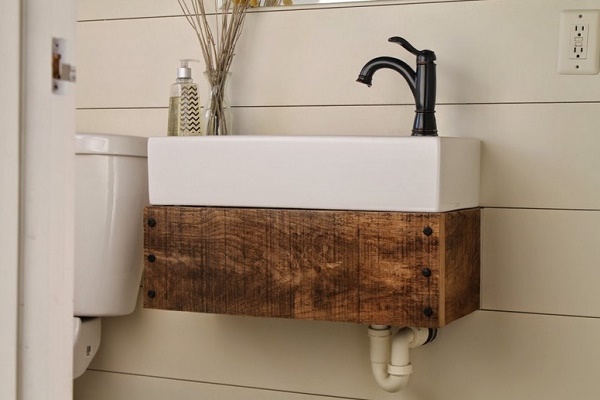
- Cantilever. They are suspended structures that are fixed to the wall using a ready-made installation system. Models of this type look stylish and modern.
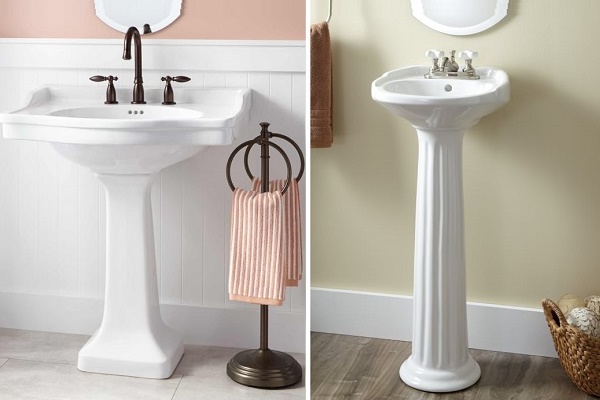
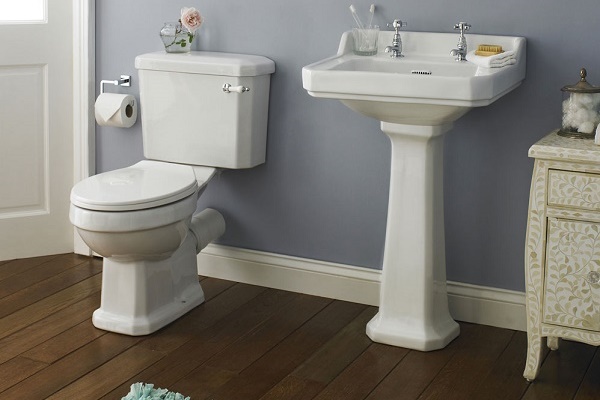
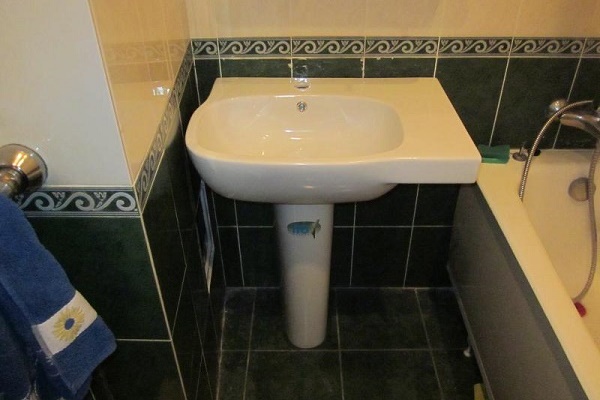
- With a pedestal. Models of the Tulip series have a decorative element in the form of a pedestal, on which a massive bowl rests. Drain valves are hidden inside the support.
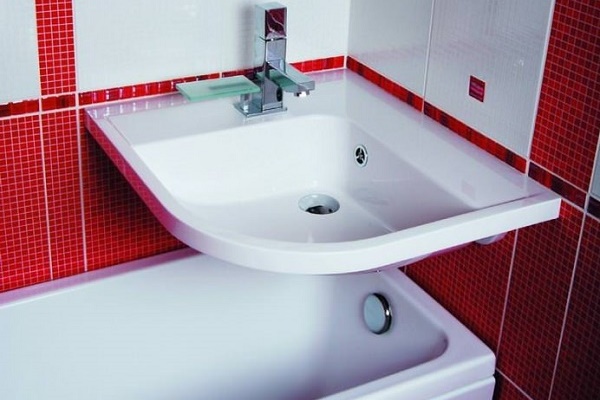
- With a semi-pedestal. Models of this type are also equipped with a pedestal. But it does not rest on the floor, but on the wall. Due to this, wall-mounted models look more elegant. Installation of such equipment is complicated by the need to bring to a given drain height.
Built-in sinks can be mounted on top of the countertop, fixed by the sides along the perimeter of the base, or built into the structure from below.

In bathrooms where it is not possible to install a worktop of standard width, it is convenient to use semi-built-in models that simply bend around the edge of the worktop.
The only caveat - when installing such plumbing, you will need to install an impromptu cabinet, behind which all communications will be hidden.

How to dismantle old equipment?
To dismantle an old appliance, first shut off the water, then loosen the mixer. To do this, unscrew the nut fixing it. The equipment is disconnected from the supply pipes, carefully removed and cleaned.

After that, the drain elements are dismantled:
- From the lower outer part of the sanitary element, the nuts are unscrewed.
- Disconnect the siphon glass from the drain outlet, free it of water and clean it of accumulated dirt.
- Remove the liquid from the drain and manually unscrew the lock nut by rotating it counterclockwise.
If the siphon is supposed to be replaced at the stage of dismantling the equipment, it must be separated from the drain pipe. To do this, unscrew the locking nut located at the connection point of the drain and the hydraulic lock, carefully lift the drain and remove the siphon.
Before removing the drain together with the installed gasket, you must move the wedge-shaped spacer washer to the side. At the final stage, it remains only to pull the outlet pipe with the siphon attached from the sewer socket.

After completion of work, in order to prevent the spread of unpleasant odors, the opening of the sewer pipe is carefully closed with a cork or a several-fold piece of fabric.
If you have to dismantle a sink attached to the wall using combined stands, the mounting points should be sought on the sides, closer to the bottom of the washbasin. If the bowl does not have a floor support, when unscrewing the nuts, the sink should be held by hands so that it does not fall to the floor under its own weight.
Installation Console Shell
There is nothing complicated in installing a sink in a bathroom without resorting to the services of professionals. The main thing is to strictly adhere to the installation technology, which includes several main stages.

To perform the work you will need the following tools:
- electric drill;
- concrete drills;
- building level;
- tape measure and a simple pencil;
- spanners;
- expansion dowels;
- construction glue;
- self-tapping screws;
- FUM tape.
Brackets for hanging sink installation can be made in the form of welded elements of a G- and T-shape, or in the form of frames, "wrapping" the installed plumbing. The second option is preferable in that it eliminates the risk of the bowl shifting to one side.
Anchorages to exclusive designer plumbing designs that have an unusual shape are usually included. For greater presentability, they can be coated with ceramic or metal compositions. Before starting work, it is important to determine whether the wall adjacent to the plumbing will withstand the additional load.

In the plastered layer of a concrete or brick wall, the length of the fastening and the depth of its immersion should be at least 30 mm. Since the bracket should be attached to the sink as tightly as possible, the anchor should be selected for each case individually, taking into account not only the strength of the base, but also the weight of the washbasin.
Preliminary surface marking
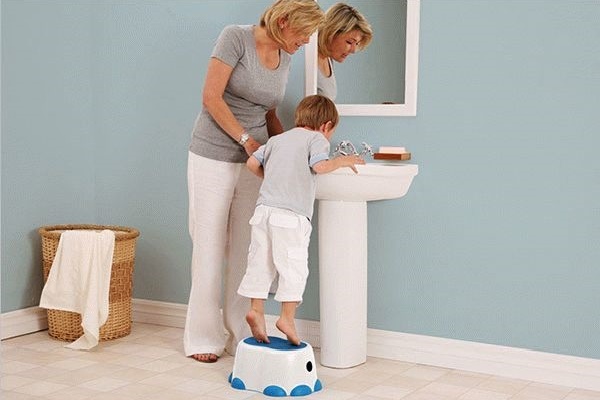
First of all, determine the location of the sink in the bathroom and installation height. This parameter is determined from the calculation so that it is convenient for households to use plumbing equipment.

Having determined the height of the bowl, a horizontal line is drawn on the wall, indicating its upper limit. Additionally, two lines are drawn perpendicular to the floor, the distance between which corresponds to the width of the bowl, taking into account the thickness of its walls.
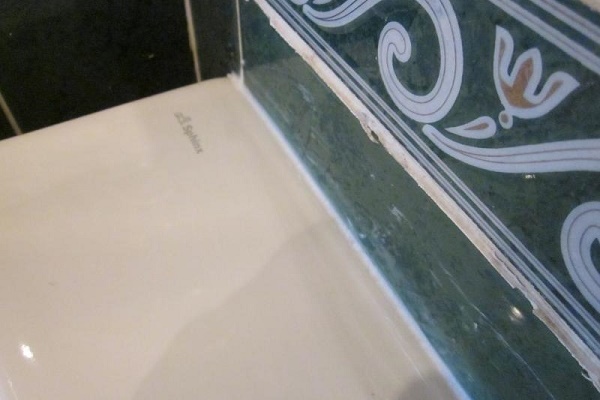
When marking, it is important to check the construction level. If the wall is tiled so that the suspension equipment looks more aesthetically pleasing, when determining the location of the mounting holes for its fixation, it is worth considering the location of the tile joints.
Making holes for fasteners
To install the brackets in the outer supporting walls of the bowl from the back, turn the product upside down. A plumbing fixture with mounted brackets is pushed to a horizontal line. Along the drawn line indicate the location of the mounting fixtures.
At the designated points of future fastenings using an electric drill, holes are made with a diameter of 1-2 mm smaller than the size of the prepared dowels. The mounting screw in the "socket" must be difficult to enter.

Expansion dowels of a kapron or other polymer design are driven into the prepared holes, and self-tapping screws are screwed into them with the corresponding diameter. Then the brackets themselves are screwed.
A little trick: so that at the time of making holes the drill drill does not slide on the tile, sticky mounting foam is glued to the treated area.
Mounting the bowl
Tighten the self-tapping screws, check the strength of the fasteners. On top of the mounting studs put on the sink. On self-tapping screws put on sealing liners and washers, and then gently tighten the structure. The washbasin is additionally fixed with sealant or clips.

The task of the master when tightening the washers is to achieve the effect so that the bowl does not swing. Mounts are decorated by wearing caps. To prevent the occurrence of mold when water gets into the gap between the sink and the wall, this place must be additionally covered with silicone sanitary sealant.
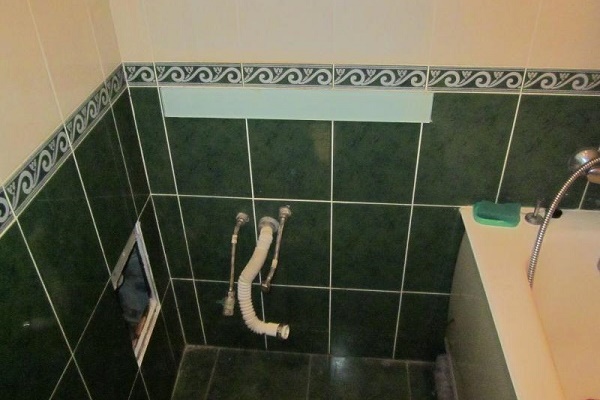
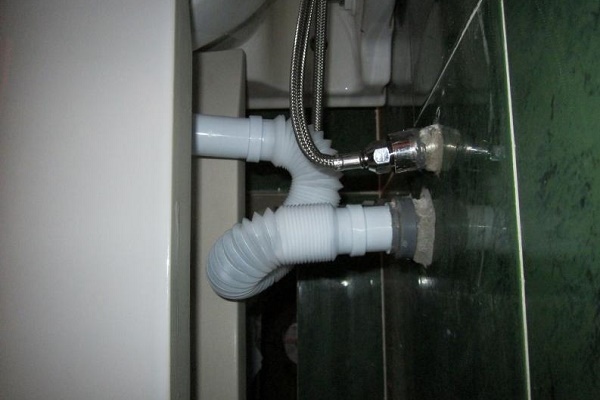
Connecting the siphon to communications
Installation of the siphon begins with fixing the release. To do this, a mesh, a rubber or silicone gasket and a clamping screw are installed in the drain hole. The presence of the gasket is necessary, as it ensures the tightness of the connection.

After making sure that the gaskets are installed correctly, tighten the clamping screw, thereby connecting the outlet to the siphon. After that, the end of the branch pipe made of hard plastic or corrugated hose is connected to the sewer socket.
When connected to the sewer, it is mandatory to use gaskets, which may be rubber gaskets or cuffs for corrugations.
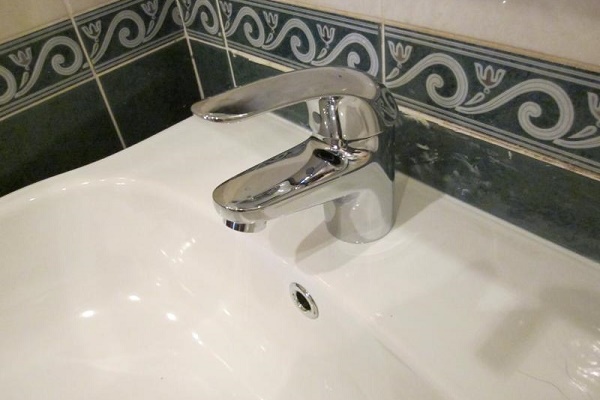
Mixer installation process
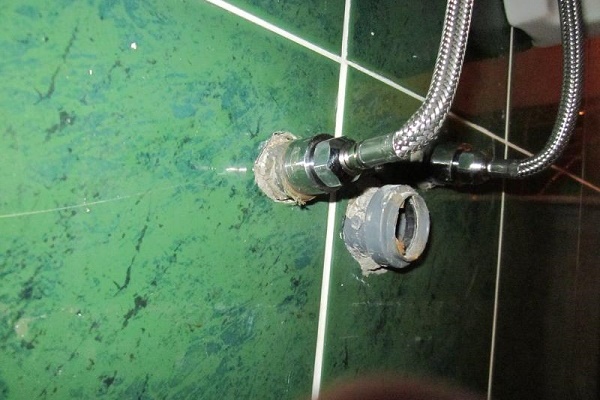
It is better to install the plumbing fixture before fixing the washbasin to the wall. After installing the plumbing, connecting it will be much more difficult. For this purpose, the supplied mounting studs and flexible connectors are screwed into the mixer.
Using this eyeliner and make the connection basin mixer to the water supply. To seal the joints in order to prevent possible leaks, wrap the FUM tape.

One end of the hose, equipped with fittings or mounting units, is connected to the mixer, and the other to the water pipes. When the diameters of the pipe and the output diverge, put on a sealing cuff.
At the final stage of the connection, it remains to check the operability of the system and verify that there are no leaks at the joints of pipes and cuffs.
You will find a step-by-step guide on how to install the mixer on the sink in featured article, which we strongly recommend that you familiarize yourself with.
Assembling and connecting a tulip sink
The bulk of the sink with a pedestal is distributed on the decorative-supporting leg, however, fixing the bowl directly to the wall is still done. The installation and connection of this plumbing involves a number of traditional steps. The following photo gallery will help you get acquainted with it:
Details of installing a tulip-type sink are detailed in the next article, the content of which is fully devoted to this issue.
Features of mounting a built-in washbasin
Models of built-in type are embedded in the countertop from below or from above.
Each installation method has its own nuances:
- When installing the bowl on top, it will protrude above the surface from one to three centimeters.
- The lower insertion method is preferable in that during operation, it is convenient to collect the sprays with just one movement.
Regardless of whether the sink will be completely recessed into the cabinet, or whether it will partially rise above the surface, the drain fittings will still be located inside the cabinet.

To make an insert from the bottom, L-shaped fasteners are used, and fixation is performed to the base of the support.
Marking the installation site
To simplify the layout of the countertops for installing a recessed sink, the use of a template will help. Many leading manufacturers attach it to most built-in models.
When determining the location for installing the washbasin, two conditions are followed:
- The sink should not be on the very edge or against the wall.
- It should provide free access and ease of use.
The meaning of creating the correct layout is that the washbasin is firmly fixed in the countertop, but does not fall through the hole in it.
For lack of a template, the sink is turned upside down and applied to the surface. A simple pencil circled the contour.

To correctly calculate the distance from the edges of the plumbing to the eyes of the fixtures, take measurements and transfer them to the circled circuit.The resulting size determines the distance that you should deviate from the line to create an internal contour that acts as a support for the sides of the bowl.
Sawing and edging
The hole for installing the bowl is done using a jigsaw. If you have to work with a hacksaw, be prepared for the fact that you need to trim the edges.
When working with a hacksaw, in order to get a neat cut, first a hole is drilled in the area of the marking line inside the outlined contour. Its diameter should be such that the hacksaw blade fits freely.
Important! To minimize the risk of chips on the decorative surface of the countertop, sawing should be done slowly and without excessive effort.
The end surfaces of the created hole are treated with fine-grained emery paper or polished with a file.

When choosing a sealant, it is important to focus on the type of material used in the manufacture of countertops. So for plastic and wooden coatings, alcohol-based sealing impregnations are used.
Bowl installation and equipment connection
The bowl is installed in the countertop and buried. To ensure a tight fit, the product is slightly rotated back and forth. After that, it remains only to tighten the installed fasteners and remove the silicone with a napkin, which is squeezed out when the bowl is planted in place. The assembled and fixed structure is left for a day until the adhesive composition completely dries.
To connect the equipment, a mixer is installed in the hole, connected to hoses and fixed with fasteners. The outlet of the siphon is taken out to the sink, a pipe is connected to it, which is led into the sewer socket.
Overall technology mixer connection and the siphon of the built-in sink is almost identical to that described during the installation of the console model.
The specifics of assembling a complex of countertops and sinks given here, We recommend that you read a very useful material.
Conclusions and useful video on the topic
A few useful tips for installing sinks are provided in the following videos.
Video # 1. Wall Mount Model Installation Guide:
Video # 2. Highlights when installing the built-in model:
Video # 3. How to insert a sink into a countertop:
When planning to install a washbasin located below the table level, it is better to use the services of a professional plumber. After all, this installation method is often chosen for expensive models made of natural or artificial stone.
And this requires not only the availability of special equipment for cutting stone, but also the subtleties of working with capricious material.
Please write comments in the block below. Tell us about how to assemble and install the sink in the wash zone in the bathroom. Ask questions, share useful technological nuances known to you, publish photos on the topic of the article.
 How to determine the dimensions of the sink for the bathroom and not screw up during the repair
 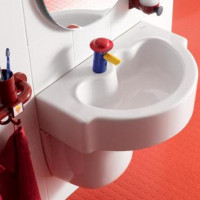 Bathroom sink height: standards and best wiring diagrams
 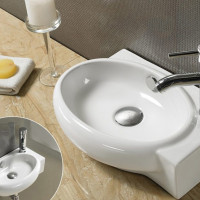 Small bathroom sinks: the nuances of choice and installation + photo selection of ideas
 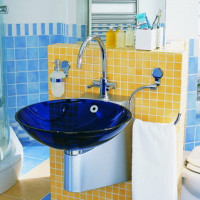 Glass bathroom sinks: types, pros and cons, an overview of the best manufacturers
  How to fix the bathroom sink to the wall: a detailed instruction on how to fix it
 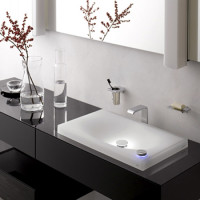 Overhead sink on the countertop in the bathroom: how to choose + installation manual
  How much does it cost to connect gas to a private house: the price of organizing gas supply
  The best washing machines with dryer: model rating and customer tips
  What is the color temperature of light and the nuances of choosing the temperature of the lamps to suit your needs
  Replacement of a geyser in an apartment: replacement paperwork + basic norms and requirements
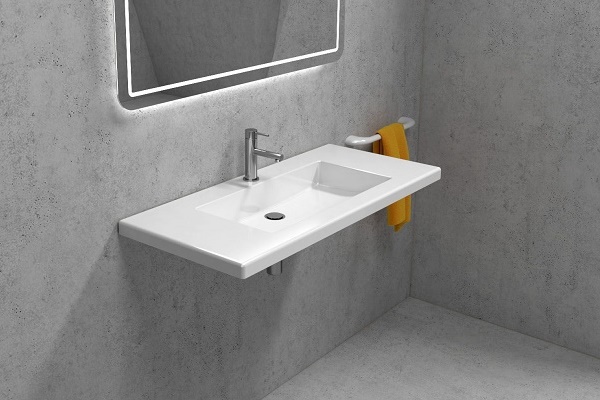
It’s good that now you can find on the Internet instructions for installing and connecting literally any kind of sinks.There are instructions for mounting by hanging on the wall, and for attaching to the installation, and for installation on the countertop. Very useful information for independent owners who can hold a tool in their hands.
If the sink is put in place of the previous one, then this is even easier than from scratch. Places for mounting are already marked, if the dimensions are standard, then you can mount directly into them. It happens that the hole is loose, then you can use plastic or wooden dowels.
Worse, if the old and new sinks are of different designs and sizes, then you have to close up the old holes and drill new ones. If the differences are insignificant, and the holes are obtained nearby, then the wall in this place may crumble.
In the photo gallery, the tulip is angled, set to the bathroom, and not to the corner. The corrugation is folded by a snail, because the exit from the wall is lower than what is needed - the wormmasters ...